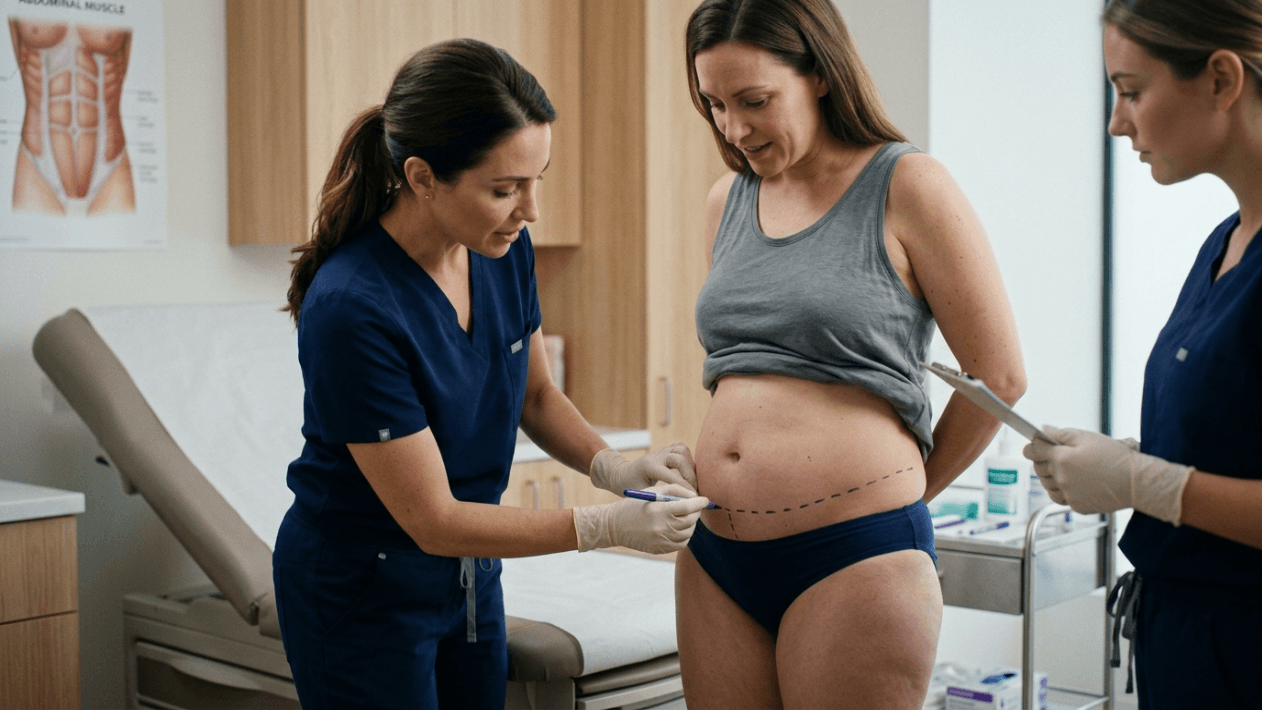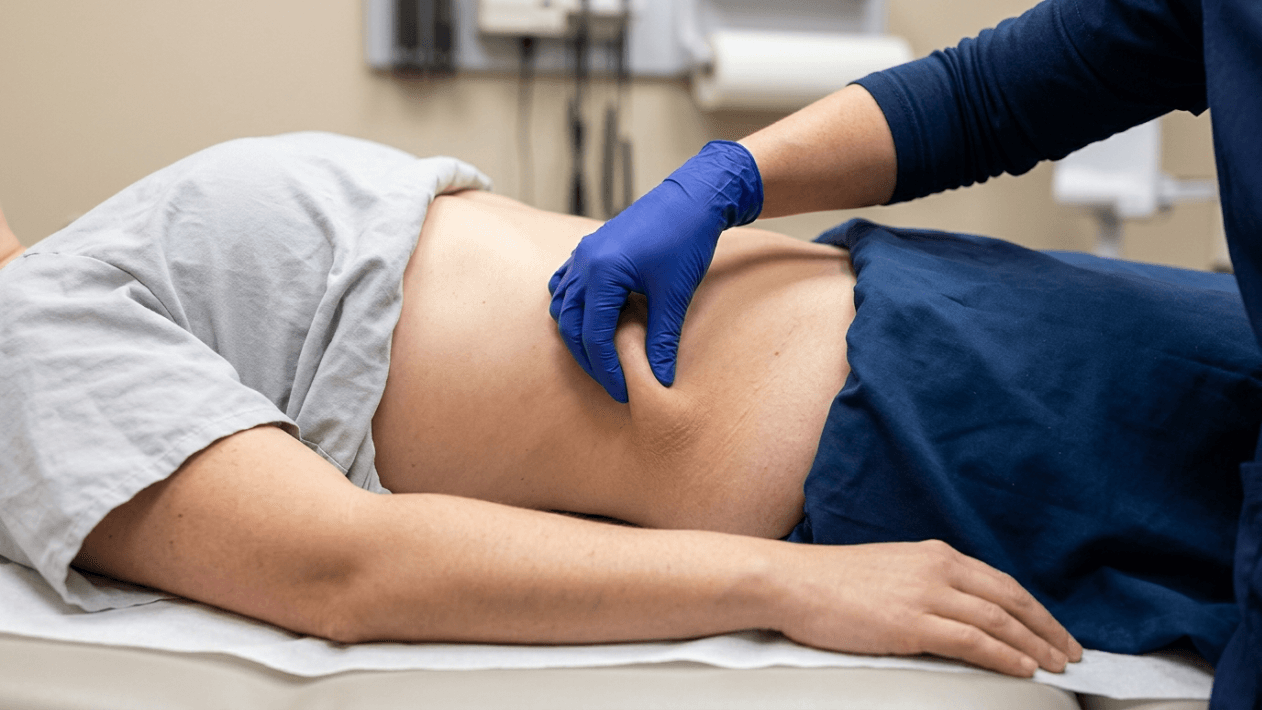


Did you know that 73% of tummy tuck revision surgeries stem not from the operation itself, but from incorrect abdominoplasty compression garment protocol adherence during the first six weeks of recovery? The garment you wear after surgery is not an accessory—it is a surgical instrument. Yet most patients treat it like an afterthought, borrowing a friend’s faja or purchasing a generic binder online without understanding that compression level, garment type, and wear duration must be matched precisely to the surgical technique performed. Wearing the wrong compression after a drain-free abdominoplasty versus a traditional technique with drains can mean the difference between a seamless recovery and a seroma that sets your results back by months.
This guide delivers a technique-by-technique breakdown of tummy tuck garment specifications—compression levels measured in millimeters of mercury, garment architecture mapped to incision patterns, and week-by-week duration tables calibrated to your activity level. Every recommendation is anchored in the clinical standard established by Op. Dr. Sibel Atalay at the Dr. Sibel Atalay International Clinic in Antalya, where individualized garment protocols are reinforced through her VIP recovery coordination package that tracks patient compliance from day one through final contour stabilization.

Why Your Abdominoplasty Compression Garment Protocol Determines Your Final Result
A tummy tuck, clinically known as abdominoplasty, separates skin from underlying tissue across a large surface area. Your body responds to this disruption by flooding the surgical plane with inflammatory fluid. Without consistent external pressure, this fluid pools into seromas, folds the skin unevenly against the repaired muscle wall, and produces contour irregularities that no amount of post-operative massage can fully correct. The compression garment is the mechanical force that holds repositioned tissue against its new position while fibrin bonds form during the critical first 14 to 21 days.
But here is what most recovery guides fail to explain: the degree of pressure required changes depending on how much dissection occurred. A mini abdominoplasty involves limited undermining of the lower abdomen, generating less dead space and therefore requiring moderate compression. A full abdominoplasty with muscle plication creates a far larger dissection plane, demanding higher, more uniform pressure. An HD abdominoplasty that uses VASER-assisted liposuction to sculpt the abdominal wall creates an even greater fluid management challenge because liposuction itself adds a secondary inflammatory cascade on top of the surgical elevation. One garment class does not fit all scenarios.
Stage-1 Stage-2 Faja Tummy Tuck Progression Explained
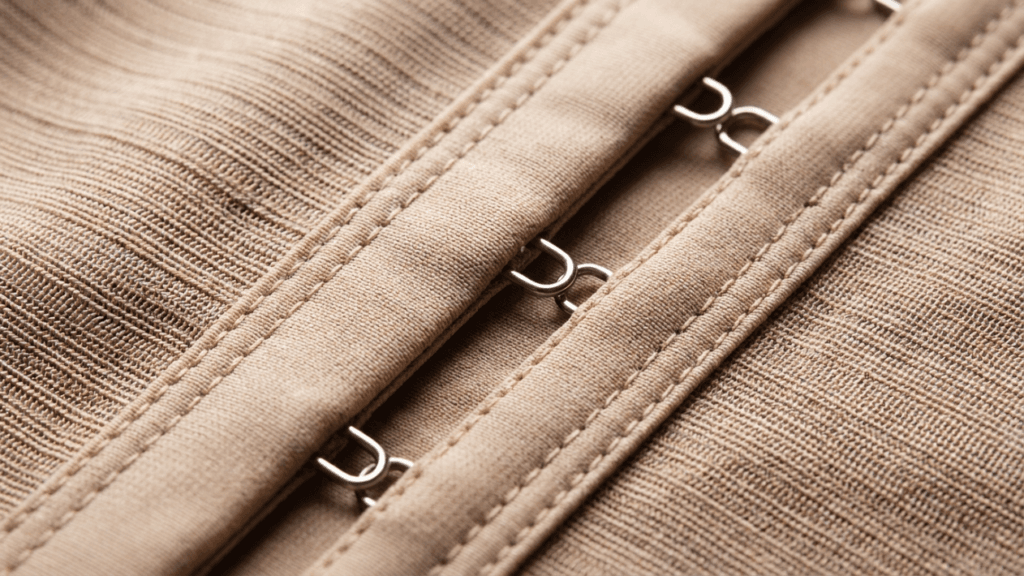
Recovery compression follows a two-stage architecture that mirrors the biological phases of wound healing. Stage-1 garments are applied immediately after surgery and are engineered for maximum structure. They feature reinforced abdominal panels, front-zipper closures with overlapping hook-and-eye reinforcement, open crotch designs for hygiene during the immobilized phase, and shoulder straps that prevent the garment from rolling downward when the patient sits. According to Isavela, a leading medical compression garment manufacturer, stage-1 garments deliver firm compression and are worn continuously during the inflammatory and proliferative healing phases when tissue planes are most vulnerable to separation.
Stage-2 garments replace the stage-1 piece once initial wound closure stabilizes and bulk swelling begins to subside. These garments offer a softer, more flexible construction with moderate compression. They lack the rigid boning and heavy-duty closures of stage-1 designs, allowing greater mobility as patients return to light activity. Stage-2 garments serve a different biological purpose: rather than holding raw tissue planes together, they refine the contour by maintaining gentle, uniform pressure that encourages the skin to contract smoothly against the underlying musculature during the remodeling phase of healing.
Transitioning too early from stage-1 to stage-2 is one of the most frequent compliance errors patients make. The firmer garment feels restrictive, and patients often request permission to switch to the softer option prematurely. Removing rigid support before the fibrin seals have matured—even by five to seven days—can allow micro-separated tissue planes to fill with fluid, creating delayed seromas that may require aspiration. The transition timeline must be dictated by your surgeon’s assessment of incision integrity and swelling trajectory, not by patient comfort alone.
Stage-1 Garment Design Requirements
Medical-grade stage-1 garments must meet specific construction criteria to function effectively. The fabric should deliver graduated compression—meaning pressure is greatest at the lower abdomen and decreases gently toward the upper abdomen to encourage venous and lymphatic return. Front closures with both a zipper and hook-and-eye rows allow size adjustment as swelling fluctuates day to day. Shoulder straps prevent downward migration, a critical feature because a garment that slips below the ribcage compresses the low abdomen excessively while leaving the upper dissection plane unsupported. An open or snap-closure crotch permits toileting without removing the entire garment during the first two to three weeks when patients are instructed to wear it around the clock.
Stage-2 Garment Design Requirements
Stage-2 garments replace structural rigidity with comfort and discretion. They typically use lighter-weight fabrics with moderate compression determined by the surgeon based on residual swelling patterns. Pull-on designs without zippers become appropriate at this stage because the patient’s mobility has improved enough to manage dressing without the easier hook-and-eye entry. Some patients prefer stage-2 bodysuits while others transition to high-waisted compression shorts—the choice depends on whether upper abdominal sculpting was part of the procedure and whether the upper tissue plane still requires direct pressure support.
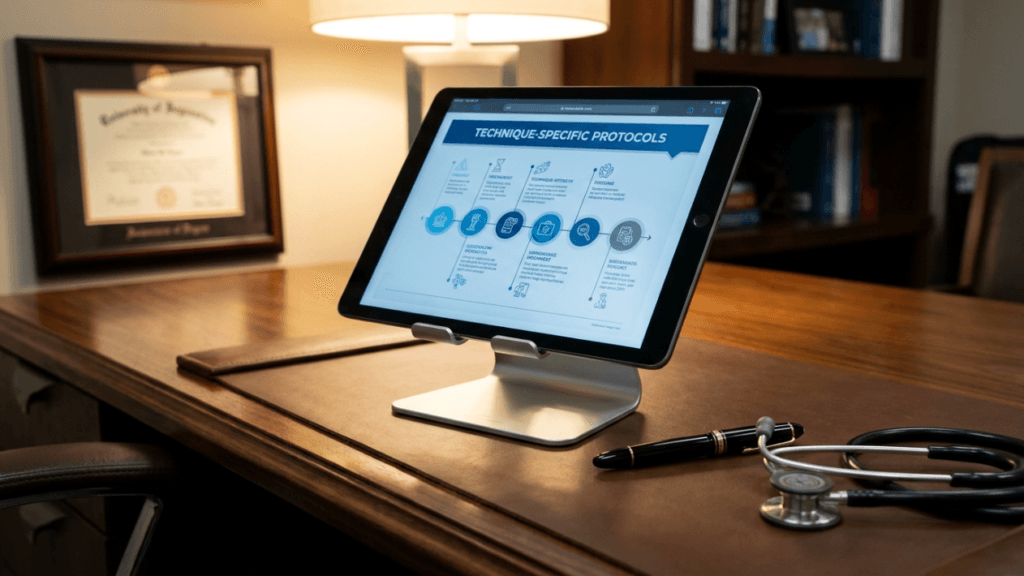
Compression Level and Garment Type by Surgical Technique
Not all tummy tuck procedures create the same post-operative landscape. The amount of tissue undermined, whether drains are placed, whether liposuction is combined, and how far the dissection extends laterally all dictate distinct compression parameters. Below is a technique-by-technique mapping that establishes the appropriate garment pressure range, garment architecture, and the clinical reasoning behind each specification.
Mini Abdominoplasty
A mini tummy tuck addresses only the lower abdomen below the umbilicus through a shorter incision. Muscle plication, if performed, is limited to the infra-umbilical rectus. Because the dissection plane is small and the upper abdominal flap remains intact, post-operative fluid accumulation risk is lower. This translates to moderate compression requirements. A stage-1 abdominal binder or low-rise stage-1 girdle delivering 15 to 20 mmHg of pressure is typically sufficient. The garment should cover from the pubic region to just above the umbilicus. Duration generally runs 3 weeks continuous wear followed by 3 weeks of daytime-only wear as swelling resolves.
Full Abdominoplasty (Traditional with Drains)
Full abdominoplasty with drains represents the classic technique. The surgeon elevates the entire abdominal flap from the pubic crease to the xiphoid, repairs diastasis recti from top to bottom, repositions the umbilicus, and places one or two closed-suction drains. The extensive undermining creates a large potential dead space where seromas can form despite drain placement. Compression must deliver firm, uniform pressure across the entire anterior abdomen from the ribcage to the groin crease. A full-length stage-1 bodysuit or high-waisted girdle with shoulder straps delivering 20 to 25 mmHg is the standard. The garment must extend well above the uppermost point of muscle repair to prevent fluid tracking superiorly. Drain exit sites require reinforced panels or perforated construction that avoids direct pressure on the drain tubing while maintaining uniform compression on surrounding tissue.
Drain-Free Abdominoplasty Garment Duration Protocol
Drain-free abdominoplasty techniques rely on progressive tension sutures or quilting sutures to obliterate the dead space between the elevated skin flap and the abdominal wall. Because no external drains are present to evacuate fluid, the compression garment assumes an even more critical role in seroma prevention. The garment acts as the primary external pressure mechanism that holds tissue planes in apposition while the progressive tension sutures maintain internal tension. Drain-free abdominoplasty garment duration protocols typically require a slightly longer period of continuous wear during stage-1 compared to traditional techniques because the body must reabsorb all surgical fluid through lymphatic channels rather than external drainage.
Patients who undergo drain-free abdominoplasty generally wear their stage-1 garment 24 hours a day—removing it only for brief showers—for a minimum of 4 weeks rather than the 3 weeks typical of drain-based procedures. The compression level remains in the 20 to 25 mmHg range, identical to traditional full abdominoplasty, but the consistency of wear becomes the decisive variable. Even a single night without compression during weeks two or three can permit fluid to accumulate in a pocket that the quilting sutures were intended to prevent. Dr. Atalay’s protocol for drain-free patients in Antalya emphasizes VIP recovery coordination that includes garment compliance check-ins at day 3, day 7, day 14, and day 28 to catch any deviation before it manifests as a clinical complication.
HD Abdominoplasty Compression Level for VASER Procedures
High-definition abdominoplasty combines traditional skin excision and muscle repair with VASER-assisted liposuction that sculpts the abdominal etching lines—the vertical linea and horizontal tendinous inscriptions that create the athletic “six-pack” appearance. This dual-layer approach generates inflammation from both the surgical undermining and the ultrasonic liposuction. The HD abdominoplasty compression level requirement shifts upward to 25 to 30 mmHg because the superficial fat layer has been disrupted across a wider surface area, creating more extensive tumescence and a greater volume of post-lipo infiltrate that the lymphatic system must clear.
The garment for HD abdominoplasty must provide not only high pressure but also targeted compression panels that preserve the sculpted etching lines. Standard flat-panel garments can flatten the definition created by the VASER technique. Instead, HD-specific garments feature strategic reinforcement zones that apply slightly greater pressure to the inter-abdominal groove areas while maintaining moderate pressure over the rectus muscle bellies. This differential compression protects the contour investment. Stage-1 wear extends 4 to 6 weeks continuously, followed by a 6 to 8 week stage-2 period—longer than any other technique because the liposuction component adds 2 to 4 weeks to the overall swelling timeline.
Complete Duration Protocol Table: Week, Activity, and Technique
The following table maps compression garment specifications against each week of recovery, your expected activity level, and the surgical technique you underwent. Print this table, pin it to your bathroom mirror, and reference it daily. Deviating from the prescribed duration is the single most common avoidable cause of contour irregularities.
| Week | Activity Level | Mini TT | Full TT (Drains) | Drain-Free Full TT | HD VASER TT |
|---|---|---|---|---|---|
| 1 | Bed rest, assisted walking | Stage-1, 15-20 mmHg, 24/7 | Stage-1, 20-25 mmHg, 24/7 | Stage-1, 20-25 mmHg, 24/7 | Stage-1, 25-30 mmHg, 24/7 |
| 2 | Short walks, no lifting | Stage-1, 24/7 | Stage-1, 24/7 | Stage-1, 24/7 | Stage-1, 24/7 |
| 3 | Light household tasks | Stage-1, 24/7 | Stage-1, 24/7 | Stage-1, 24/7 | Stage-1, 24/7 |
| 4 | Light office work | Transition to Stage-2, daytime | Stage-1, 24/7 | Stage-1, 24/7 | Stage-1, 24/7 |
| 5 | Extended walking, driving | Stage-2, 12 hrs/day | Transition to Stage-2, daytime only | Stage-1, continue 24/7 | Stage-1, 24/7 |
| 6 | Gentle exercise permitted | Stage-2, 12 hrs/day | Stage-2, 12 hrs/day | Transition to Stage-2 | Transition to Stage-2, daytime |
| 7-8 | Progressive exercise | Stage-2, daytime optional | Stage-2, 12 hrs/day | Stage-2, 12 hrs/day | Stage-2, 12 hrs/day |
| 9-12 | Full activity | Discontinue or comfort wear | Stage-2, daytime optional | Stage-2, daytime optional | Stage-2, daytime |
Notice the staggered transition points. Mini abdominoplasty patients step down to stage-2 garments at week four, while drain-free patients remain in stage-1 through week five, and HD VASER patients carry stage-1 compression into week six. These timelines reflect the different volumes of surgical fluid each technique generates and the varying speed at which lymphatic clearance normalizes across procedures of increasing complexity.

Dr. Atalay’s Garment Protocol: The Authoritative Antalya Standard
Dr. Sibel Atalay, a board-certified plastic and reconstructive surgeon with 29 years of clinical experience operating from Antalya, Türkiye, has developed a garment protocol that serves as the clinical reference standard for abdominoplasty recovery across the international health tourism corridor. Her approach differs from generic post-operative instructions in three critical ways: garment selection occurs before surgery based on technique and body type, compliance is actively monitored through her VIP recovery coordination package, and duration adjustments are made based on real-time clinical assessments rather than calendar-based prescriptions.
Every patient undergoing abdominoplasty at Dr. Atalay’s clinic receives a technique-matched garment at the conclusion of surgery. The clinical team measures the patient’s torso intraoperatively—accounting for immediate post-operative swelling—to select the correct size before the patient wakes from anesthesia. This eliminates the common problem of patients purchasing garments based on pre-operative measurements that become inaccurate once surgical swelling distends the tissues. The clinic provides two stage-1 garments so that one can be laundered while the other is worn, ensuring 24-hour compliance without hygiene compromise.
The VIP Recovery Coordination Difference
Most surgical practices hand patients a written instruction sheet and a phone number to call with questions. Dr. Atalay’s VIP recovery coordination package assigns a dedicated recovery coordinator who conducts garment compliance check-ins at structured intervals. During week one, the coordinator calls daily to confirm the garment is being worn around the clock, assess skin integrity under the compression panels, and troubleshoot fit issues caused by fluctuating edema. At the week two and week four marks, the coordinator schedules video assessments where the patient demonstrates garment positioning to verify that shoulder straps are properly anchored and the garment edge has not rolled below the upper dissection margin.
This active monitoring matters because garment non-compliance is insidious. Patients remove the garment for a “quick break” that extends to hours. They loosen the straps to relieve the sensation of pressure, not realizing that relaxed compression above the umbilicus permits fluid to pool at the superior margin of the dissection. By the time a seroma becomes palpable, the window for simple compression correction has often closed, and the patient requires serial aspiration—a procedure that adds discomfort, delays healing, and increases infection risk. Dr. Atalay’s protocol captures these deviations early. Her data from the Antalya clinic shows that patients enrolled in the VIP coordination package demonstrate a seroma rate below 2%, compared to published rates of 5 to 15% in practices without structured garment compliance monitoring.
Post-Operative Garment Selection by Technique at Dr. Atalay’s Clinic
Dr. Atalay’s technique-specific garment specifications align with the principles outlined earlier but include refinements based on her extensive clinical observation. For mini abdominoplasty patients, she prescribes a low-profile stage-1 girdle with a 17 mmHg compression rating—slightly above the standard 15 mmHg minimum—to account for the fact that even limited undermining generates more edema than patients anticipate. Full abdominoplasty patients receive a full-torso stage-1 bodysuit rated at 23 mmHg with shoulder straps and a reinforced umbilical aperture. Drain-free patients receive the same bodysuit at 23 mmHg but with an additional lumbar support panel that applies posterior compression, addressing the fact that progressive tension suture techniques create a subtle posterior fluid shift that anterior compression alone does not manage adequately.
HD VASER abdominoplasty patients receive a specialized garment with differential compression panels rated at 28 mmHg over the etching zones and 22 mmHg over the rectus bellies. This graduated approach within a single garment preserves the sculpted definition while preventing excessive flattening of the muscular contours. The clinic sources these HD-specific garments from medical-grade manufacturers whose panel architecture has been validated against the VASER instrument’s ultrasonic disruption pattern.
Common Compression Mistakes That Undermine Surgical Results
Understanding the correct protocol is half the battle. Recognizing the errors that sabotage recovery is equally important. Below are the five most prevalent compression garment mistakes that surgeons encounter in clinical practice—each of which can degrade your final result significantly.
1. Wearing a Garment Sized to Pre-Operative Measurements
Surgical edema can inflate the abdominal circumference by 2 to 4 inches in the first week. A garment purchased pre-operatively at your normal waist size will be impossibly tight immediately after surgery—some patients cannot close the zippers at all, leaving them with zero compression when they need it most. Conversely, buying a size up creates a loose fit that provides insufficient pressure from day one. The correct approach is to purchase two sizes for stage-1: one size up from your pre-operative measurement for the first two weeks of peak swelling, and your regular size for weeks three through six as edema subsides. Dr. Atalay’s clinic resolves this automatically by providing correctly sized garments after intraoperative measurement.
2. Choosing Fashion Shapewear Over Medical-Grade Garments
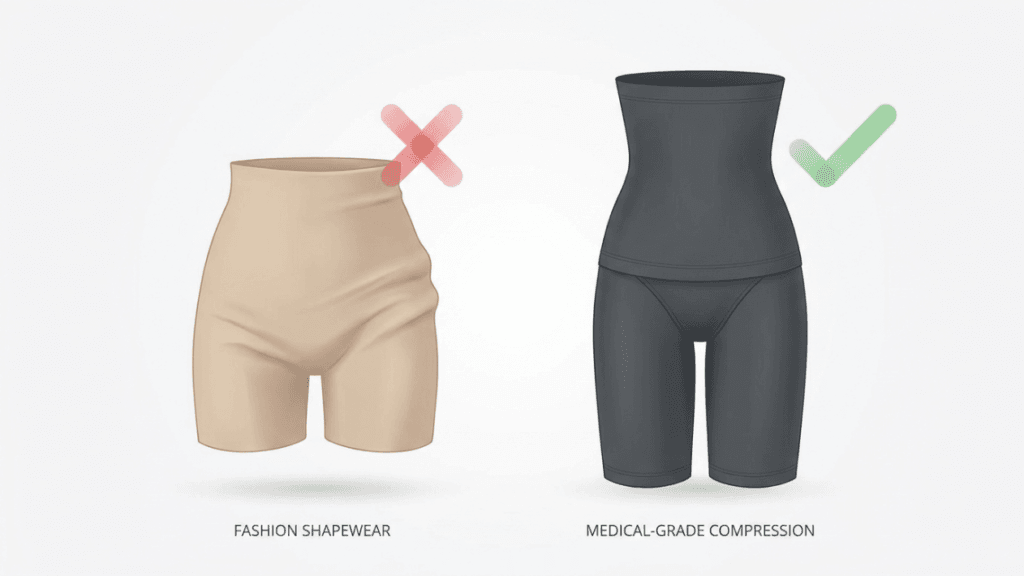
Department store shapewear and Colombian fajas marketed for post-surgical recovery are not the same as medical-grade compression garments. Fashion shapewear delivers compression levels of 8 to 12 mmHg—far below the 15 to 30 mmHg range required for surgical recovery. These garments also lack the construction features that matter clinically: reinforced panels, graduated pressure profiles, surgical-grade closures, and open-crotch designs for extended 24-hour wear. A garment that looks attractive but delivers inadequate pressure functions as a placebo, giving patients false confidence while their tissues heal without adequate support.
3. Removing the Garment at Night During Weeks 1-4
Fluid dynamics do not pause during sleep. In fact, the horizontal position alters hydrostatic pressure across the surgical plane, potentially directing fluid toward dependent areas. Removing the garment overnight during the first four weeks eliminates compression precisely when the patient is horizontal and unable to self-monitor visible swelling. Patients who remove the garment at night frequently wake with visible abdominal distension that takes hours to resolve with re-application of compression. This cycle of nightly fluid accumulation and daytime re-compression creates a repetitive stress on the healing tissue planes that can lead to chronic seroma formation.
4. Ignoring Garment Migration
When a stage-1 garment rolls or folds downward during sitting, it creates a pressure ridge at its lower edge. This concentrated band of pressure can cause pressure necrosis of the skin directly beneath the fold while leaving the upper abdomen entirely uncompressed. Shoulder straps are the primary defense against migration. If your garment lacks shoulder straps, or if you unfasten the straps because they irritate your shoulders, you must choose a different garment or add strap attachments. Any visible rolling or folding requires immediate readjustment—leaving a rolled garment in place for hours can cause permanent contour indentations at the fold line.
5. Continuing Stage-1 Compression Beyond Its Indicated Window
While removing compression too early is the dominant error, the inverse also causes problems. Stage-1 garments with boning, heavy zippers, and rigid panels create pressure points and friction injuries when worn beyond the inflammatory phase. As swelling diminishes, the rigid garment that once fit snugly begins to fit loosely in some areas while creating excess pressure at structural seams and boning channels. Patients who insist on wearing their stage-1 garment for emotional comfort beyond the surgeon’s recommended transition date often develop skin breakdown at closure sites. Transitioning to stage-2 is not a downgrade—it is a deliberate clinical step that matches compression to the tissue’s current healing phase.
Specialized Garment Features and How They Protect Your Investment
Understanding garment architecture helps you evaluate quality when purchasing a tummy tuck garment. The differences between a well-designed medical garment and a generic compression product lie in construction details that have direct clinical implications.
Shoulder Straps and Anti-Migration Engineering
Shoulder straps anchor the garment to the upper body, preventing the garment from sliding downward when the patient transitions from standing to sitting. Without straps, the garment’s own weight plus the counterforce of the patient’s torso creates a slow creep that eventually positions the garment’s lower edge at the waist rather than the pubic crease. Adjustable straps with front and rear attachments distribute pull forces evenly, reducing shoulder discomfort. Some garments include padded strap options for patients with sensitive shoulder anatomy. Dr. Atalay requires shoulder straps on all stage-1 garments prescribed at her clinic, regardless of technique.
Open Crotch Design and Hygiene During 24/7 Wear
During the first three to four weeks, patients are instructed to keep their stage-1 garment on at all times except during brief showers. Hygiene management becomes a daily challenge without an open or snap-closure crotch. Patients who attempt to remove the full garment for toileting often struggle with re-application, particularly in the early days when mobility is limited and arm extension causes pain at the abdominal incision site. Additionally, repeated removal and re-application creates a cycle of pressure interruption that compromises the continuous compression the protocol demands. Medical-grade garments solve this with an open gusset design that allows toileting without removing the garment at all.
Reinforced Abdominal Panels and Differential Compression Zones
Basic compression garments apply uniform pressure across the entire torso. Advanced medical garments feature reinforced front panels that deliver stronger compression specifically over the surgical site while using lighter compression laterally and posteriorly. This targeted approach maximizes seroma prevention where it matters most while reducing ribcage and back discomfort. HD VASER garments take this further with differential zones that apply distinct pressure levels to the etching lines versus the muscular belly regions, preserving the surgeon’s sculpting work against the flattening effect of uniform compression.
Managing the Transition: When and How to Switch Garment Stages
The stage-1 to stage-2 transition is a clinical decision point, not a date on a calendar. Your surgeon determines readiness based on three criteria: incision closure integrity confirmed at an in-person or video assessment, the absence of seroma or fluid wave on abdominal palpation, and a measurable reduction in abdominal circumference compared to post-operative week one measurements. When these three benchmarks are met, your surgeon clears you to transition.
The transition itself should be gradual rather than abrupt. During the first two to three days after switching to a stage-2 garment, wear the stage-2 garment during daytime hours and return to the stage-1 garment overnight. This overlap period lets your tissue adapt to reduced compression while you sleep, when fluid dynamics shift and the risk of overnight pooling is highest. If you wake with no visible increase in swelling after two consecutive nights in the stage-2 garment, you can discontinue the stage-1 garment entirely.
Stage-2 garments are typically worn for a total of 6 to 12 weeks depending on the technique—shorter for mini procedures, longer for full and HD procedures. The end point of stage-2 wear is reached when your abdomen no longer swells during the day without compression. Test this by skipping the garment for a full day at week 8 or 10. If your abdomen remains flat and comfortable by evening, your lymphatic system has resumed independent function and you can discontinue compression. If you notice evening swelling, return to daytime stage-2 wear for another two weeks before testing again.
Activity-Specific Garment Guidance During Recovery
Physical activity increases cardiac output, vasodilation, and interstitial fluid production. Every time you elevate your heart rate, your surgical tissue responds with increased microvascular perfusion and a transient spike in swelling. Compression garments counteract this by maintaining external pressure that limits capillary bed distension. Understanding this relationship lets you adjust your garment strategy around activity.
Returning to Exercise (Weeks 6-8)
When your surgeon clears you for progressive exercise at weeks six through eight, always wear your stage-2 garment during the workout and for at least four hours afterward. Exercise-induced swelling can persist for hours after the session ends, and removing compression too early allows this transient edema to settle in dependent tissue planes. For HD VASER patients, this post-exercise compression window extends to 8 to 12 hours because the liposuction-treated tissue is more reactive to cardiovascular demand than tissue treated with excision alone.
Travel and Prolonged Sitting
Prolonged sitting—whether on a flight home from medical tourism or during a long workday—reduces lymphatic drainage velocity because the diaphragmatic movement that drives lymph flow is suppressed in the seated position. If you are traveling as an international health tourism patient within the first two months after surgery, wear your stage-2 garment throughout the flight and for 24 hours afterward. During long car rides or desk sessions, wear compression and stand for a five-minute walking break every 45 minutes to restore lymphatic flow velocity.
Sleeping Positions and Nighttime Compression
During the stage-1 phase, you sleep in the garment by definition. Once you transition to stage-2 daytime-only wear, your sleeping position becomes relevant. Back sleeping with slight elevation using two to three pillows maintains the most favorable hydrostatic gradient for lymphatic drainage. Side sleeping is acceptable after week six but place a pillow under your knees and between your thighs to prevent twisting torque on the healing abdominal wall. Stomach sleeping is prohibited until your surgeon confirms complete incision and muscle repair healing—typically not before week eight to ten for full and HD abdominoplasty patients.
Your Step-by-Step Tummy Tuck Garment Compliance Protocol
Implementing the correct abdominoplasty compression garment protocol requires more than purchasing the right product. Follow these seven action steps to ensure your garment supports your surgical result from day one through final contour stabilization.
- Confirm technique-specific specifications before surgery. Ask your surgeon which technique will be used—mini, full, drain-free, or HD VASER—and request the exact compression level, garment style, and brand recommendation in writing before your procedure date.
- Acquire two stage-1 garments in surgical sizes. Purchase one garment at one size up from your pre-operative measurement and one at your standard measurement. The larger size serves weeks one through two; the smaller size serves weeks three through six as swelling resolves. Having two also enables 24/7 compliance during laundering.
- Wear stage-1 compression 24 hours daily with zero unauthorized removals. Remove the garment only for brief showers lasting under ten minutes. Reapply immediately. Never skip a night during the first four weeks regardless of technique.
- Monitor for migration, rolling, and pressure ridges every time you sit or stand. Adjust the garment immediately if the lower edge rides above the pubic crease, if shoulder straps loosen, or if any fold creates a visible indentation line on your skin.
- Transition to stage-2 only upon surgeon clearance. Do not transition based on comfort alone. Confirm at your clinical follow-up that incision closure is complete, no seroma is present, and circumference measurements show adequate swelling reduction.
- Overlap stage-1 overnight during the first two to three days of stage-2 wear. This gradual crossover prevents overnight fluid accumulation while your tissues adapt to the reduced pressure environment of the stage-2 garment.
- Discontinue compression only when a full day without the garment produces no evening swelling. Test at week 8 for mini procedures, week 10 for full, and week 12 for HD VASER. If swelling returns, resume daytime wear for two more weeks before testing again.
Your compression garment is not a comfort item. It is a calibrated surgical device that determines whether the thousands you invested in your abdominoplasty translate into lasting, smooth results—or whether contour irregularities, seromas, and prolonged swelling erode what your surgeon built. Treat your garment protocol with the same discipline you brought to the decision to have surgery. If you are ready to begin your abdominoplasty journey under a surgeon who individualizes every element of your recovery—including your garment specifications—schedule your consultation through the appointment page at Dr. Sibel Atalay International Clinic in Antalya.
Frequently Asked Questions About Tummy Tuck Compression Garments
How does a drain-free abdominoplasty change garment duration requirements?
Drain-free techniques require longer continuous stage-1 wear—typically 4 weeks minimum versus 3 weeks for drain-based procedures. Without external drainage, your compression garment serves as the primary fluid management mechanism, making uninterrupted 24-hour wear essential until lymphatic channels reabsorb surgical fluid independently.
What compression level is needed after HD VASER abdominoplasty?
HD VASER abdominoplasty requires 25-30 mmHg compression because the combined surgical undermining and ultrasonic liposuction generates a larger inflammatory response. Specialized HD garments with differential pressure panels protect sculpted etching lines while managing increased post-lipo fluid volume.
Can I use a regular shapewear faja instead of a medical-grade garment?
No. Fashion shapewear typically delivers 8-12 mmHg, far below the 15-30 mmHg required for surgical recovery. Medical garments also feature shoulder straps, open crotches for 24-hour wear, reinforced panels, and surgical-grade closures that fashion garments lack entirely.
When should I transition from stage-1 to stage-2 compression?
Transition only when your surgeon confirms three clinical criteria: complete incision closure, absence of seroma on palpation, and measurable abdominal circumference reduction. Calendar-based transitioning is insufficient—your body’s healing rate, not the date, determines readiness.
Why does Dr. Atalay’s protocol include VIP garment compliance monitoring?
Active compliance monitoring catches deviations—skipping nights, loosening straps, or removing garments prematurely—before they manifest as seromas or contour problems. Dr. Atalay’s monitored patients show seroma rates below 2%, compared to 5-15% published rates without structured compliance tracking.
How do I know when to stop wearing compression entirely?
Test by skipping the garment for one full day. If your abdomen remains flat and comfortable by evening with no visible swelling, your lymphatic system has resumed independent function. If evening swelling occurs, resume daytime compression for two more weeks before testing again.
Does garment size change as swelling decreases during recovery?
Yes. Most patients need a larger garment size during weeks 1-2 when edema peaks, then transition to their pre-operative size by week 3-4. Purchasing two stage-1 garments in different sizes ensures continuous proper compression throughout the inflammatory phase.
Should I wear compression during exercise after being cleared to work out?
Absolutely. Wear your stage-2 garment during exercise and for 4-12 hours afterward, depending on technique. Exercise increases cardiac output and transient swelling. Removing compression too early allows exercise-induced edema to settle in dependent tissue planes and delays final contour resolution.